These southern 3-ingredient banana pudding cups are the kind of dessert that disappears from a church potluck table before you’ve even set down the serving spoon. My aunt has been making a version of this for years, and she once came home with an empty dish and a dozen people asking how she did it with just three ingredients. This is a simple, no-bake recipe that leans on store-bought pudding, fresh bananas, and vanilla wafers to give you all the comfort of classic Southern banana pudding in cute little glass cups. It’s perfect for busy weeknights, family gatherings, or any time you want something sweet without turning on the oven.
Serve these banana pudding cups well-chilled, straight from the fridge, so the wafers have time to soften just a bit while still keeping some texture. They pair nicely with a simple cup of coffee or hot tea for the grown-ups and a glass of cold milk for the kids. If you’re taking them to a potluck, nestle the cups in a 13x9 pan or a sturdy tray for easy transport, and tuck a small bowl of extra vanilla wafers on the side so folks can add a little crunch on top. For a fuller dessert spread, they go well alongside brownies or bar cookies, since the light, creamy pudding balances richer treats.
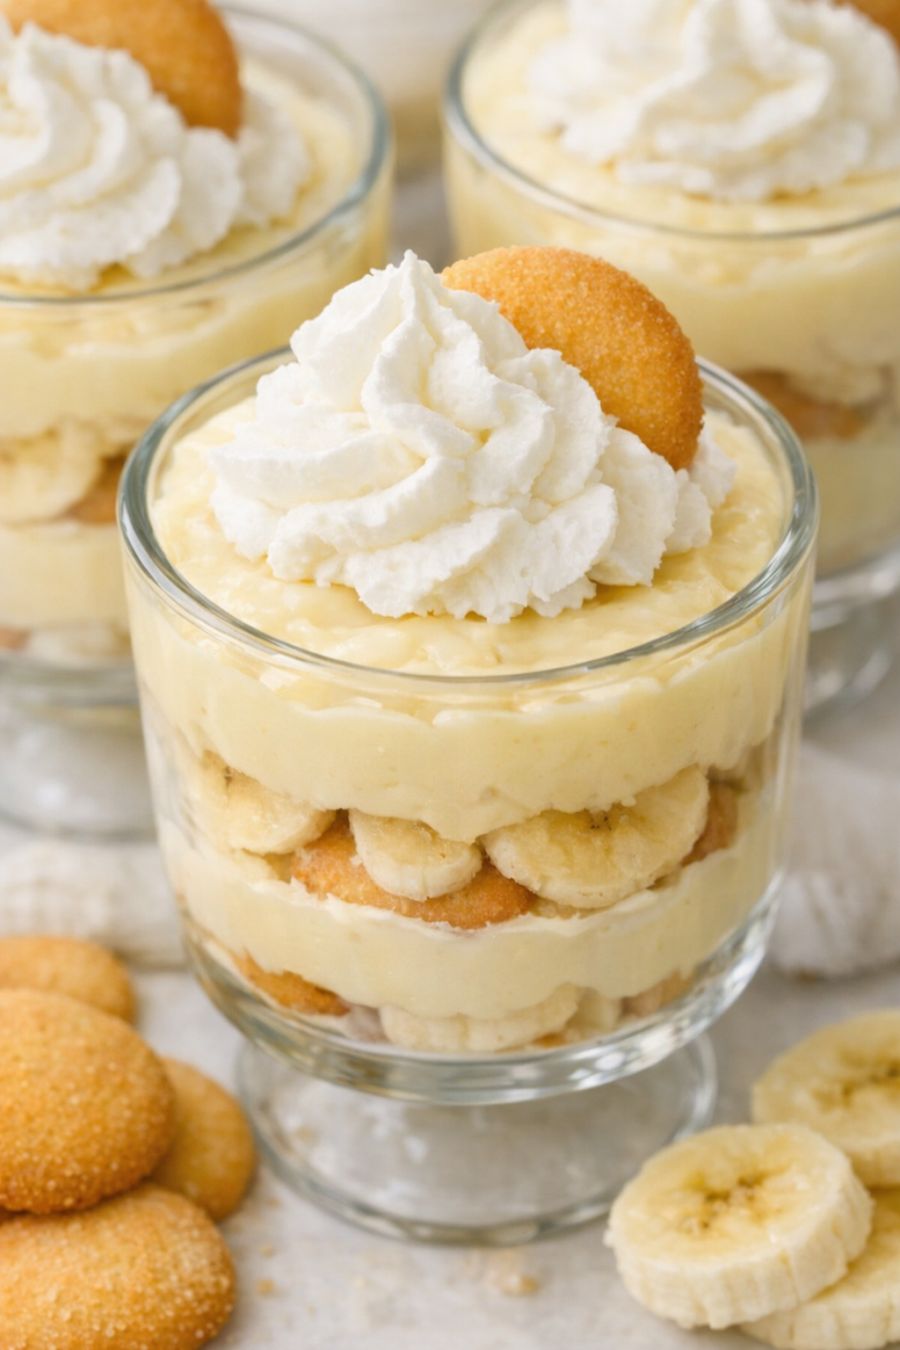
Southern 3-Ingredient Banana Pudding Cups
Servings: 8
Ingredients
3 cups cold whole milk (or 2% milk)
2 (3.4-ounce) boxes instant vanilla pudding mix
4 medium ripe bananas, sliced
3 cups vanilla wafer cookies (about 8 ounces), plus a few extra for garnish
Directions
In a large mixing bowl, pour in the cold milk. Sprinkle the instant vanilla pudding mix over the top. Whisk steadily for about 2 minutes, until the mixture thickens and is smooth with no dry pockets of mix. Let it sit for 3 to 5 minutes to fully set while you prep the cups.
Slice the bananas into thin rounds, about 1/4 inch thick. Keep them in a single layer on a plate so they’re easy to grab for layering. If you’re working slowly, you can slice one banana at a time as you build each cup to help keep them from browning.
Gently crush about half of the vanilla wafers with your hands or the bottom of a glass, leaving a mix of small chunks and crumbs. Keep the rest of the wafers whole for layering. This gives you a nice mix of texture in each bite.
Set out 8 small glass dessert cups, jars, or juice glasses so you can see the layers from the side. Start each cup with a spoonful of vanilla pudding in the bottom, spreading it to cover the base.
Add a layer of vanilla wafers over the pudding in each cup, using some whole wafers and some of the larger crushed pieces. Press them down gently so they sit in the pudding but still keep their shape along the sides for that pretty layered look.
Place a layer of banana slices over the wafers in each cup, standing a few slices up along the glass if you want them to show through the sides. Try to keep the slices in a single layer so the cups don’t get too crowded.
Spoon more vanilla pudding over the bananas, just enough to fully cover them. Gently tap the cups on the counter to help the pudding settle between the layers. Repeat the layers—wafers, bananas, then pudding—until you reach the top of each cup, finishing with a smooth layer of pudding.
For a simple, 3-ingredient “whipped” topping look without adding another ingredient, mound a final spoonful of pudding on top of each cup, using the back of the spoon to create a soft swirl that mimics a dollop. Sprinkle the tops with a few crushed vanilla wafers and tuck one whole wafer upright in the center of each cup for a pretty finish.
Cover each cup loosely with plastic wrap or place them together in a covered container. Refrigerate for at least 1 to 2 hours before serving, or up to 6 hours, so the flavors meld and the wafers soften slightly. Serve chilled, and keep any leftovers refrigerated.
Variations & Tips
You can easily adjust these cups to fit your family’s tastes while still keeping the spirit of the original three-ingredient idea. If you have picky eaters who don’t like a lot of banana, use fewer banana slices in their cups and add extra wafers for more crunch. For a softer, more pudding-like texture (especially good for younger kids or older family members), lightly crush more of the wafers so they soften faster in the fridge. If you want a stronger banana flavor, you can swap one of the vanilla pudding mixes for banana cream pudding, though that technically nudges you away from the classic vanilla-southern style. For a lighter feel, use 2% milk instead of whole, but avoid non-dairy milks unless the pudding box specifically says they’ll set properly with them. Food safety tips: Always keep the banana pudding cups chilled; they should not sit out at room temperature for more than 2 hours (or 1 hour if it’s very warm) because of the milk in the pudding. Store leftovers tightly covered in the refrigerator and enjoy within 1 to 2 days for best texture and to avoid the bananas browning too much. Use clean utensils and bowls when preparing the pudding, and make sure the milk is fresh and kept cold until you’re ready to mix. If you’re making these ahead for a potluck, assemble them the morning of the event so the bananas stay as fresh-looking as possible.
