These low carb 2-ingredient provolone crisps are the kind of snack that makes people do a double-take at a potluck. A coworker brought a tray of these to an office gathering, and everyone was shocked to learn they were just cheese and seasoning. They bake up into thin, lacy, golden circles with salty, chip-like crunch that honestly beats most store-bought chips. They’re perfect for busy parents, low-carb eaters, or anyone who wants a quick, satisfying snack with almost no prep and no mystery ingredients.
Serve these provolone crisps piled on a plate or straight from the foil-lined baking tray once they’ve cooled and crisped. They’re wonderful on their own as a crunchy snack, or you can pair them with a simple dip like salsa, guacamole, or ranch for a family movie night. They also make a fun substitute for crackers on a snack board with sliced veggies, olives, and deli meats. For a light lunch, use them to scoop up chicken or tuna salad, or tuck a few into a lunchbox as a crunchy side instead of chips.
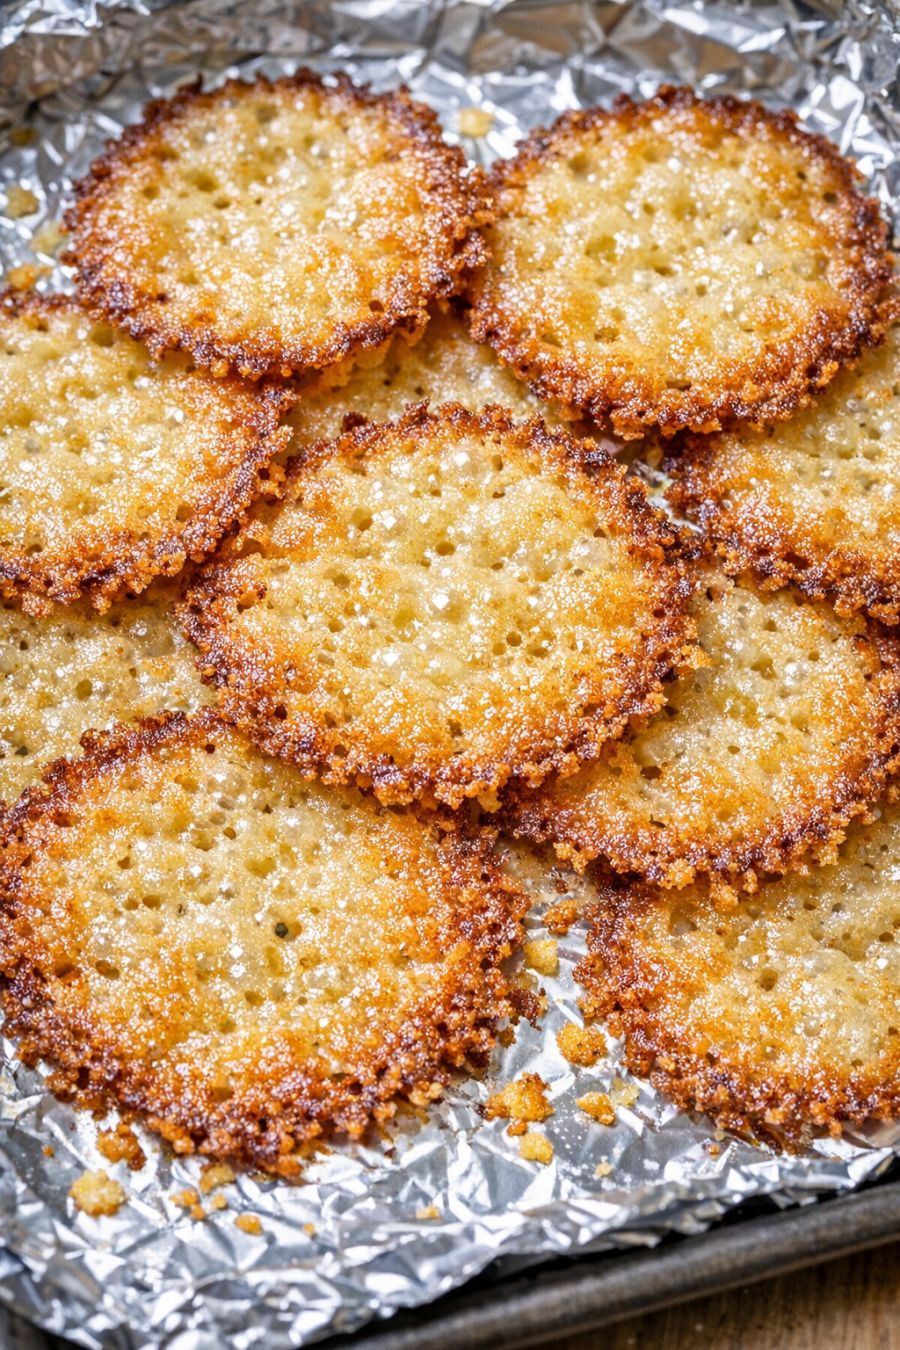
Low Carb Provolone Crisps
Servings: 4
Ingredients
8 slices provolone cheese (about 1 ounce each), not ultra-thin
1/2 teaspoon fine sea salt or kosher salt
Directions
Preheat your oven to 375°F (190°C). Line a large baking sheet with aluminum foil, shiny side up, to match the look of classic potluck trays and to make cleanup easy.
Pat the provolone slices dry with a paper towel if they look damp; this helps them crisp instead of steam. Cut any paper dividers away from the edges so the cheese can melt evenly.
Lay the provolone slices on the foil-lined baking sheet in a single layer, spacing them at least 1 inch apart. They will spread as they melt and form thin, circular wafers with lacy edges.
Lightly sprinkle the tops of the cheese slices with the salt. A little goes a long way, and the cheese is already savory, so keep the layer light for that perfect salty crunch.
Place the baking sheet on the middle rack of the oven. Bake for 8–12 minutes, watching closely toward the end. The cheese will melt, bubble, and spread, then turn a deep golden color with darker, lacy edges and tiny bubble pockets throughout.
When the provolone slices are an even golden brown with browned, crisp-looking edges, remove the tray from the oven. If any centers still look pale, give them another 1–2 minutes, checking often so they don’t burn.
Let the crisps cool completely on the foil, 10–15 minutes. As they cool, they will firm up from soft and bendy to snappy and crisp with a slight oily sheen on top.
Once cooled and fully crisp, gently peel the provolone crisps off the foil. Serve right away for the best crunch, or store in an airtight container at room temperature for up to 2 days, layering with parchment if needed.
Variations & Tips
You can have fun with these while still keeping them family-friendly. For a little extra flavor without changing the basic 2-ingredient idea, use a flavored provolone (like smoked provolone) or swap the salt for a seasoned salt blend. If your kids are sensitive to salt, use just a pinch or skip it entirely—the cheese alone still bakes into a very tasty crisp. For a slightly spicier adult version, sprinkle a tiny amount of crushed red pepper or black pepper on a few slices before baking. You can also make mini crisps by cutting each provolone slice into quarters and spacing the pieces out on the foil; they bake a little faster, so start checking at 6–7 minutes. For dipping, keep the add-ons simple: salsa, guacamole, or plain Greek yogurt with a squeeze of lemon all work well. Food safety tips: Use fresh, pre-sliced provolone from a sealed package or the deli counter, and keep it refrigerated until you’re ready to bake. Avoid letting the cheese sit out at room temperature for more than 2 hours before baking. Bake until the cheese is fully melted and bubbling, with no raw, rubbery spots in the center. Once baked, allow the crisps to cool fully before storing so condensation doesn’t make them soggy. Store leftovers in a clean, dry, airtight container and eat within a couple of days for best quality.
