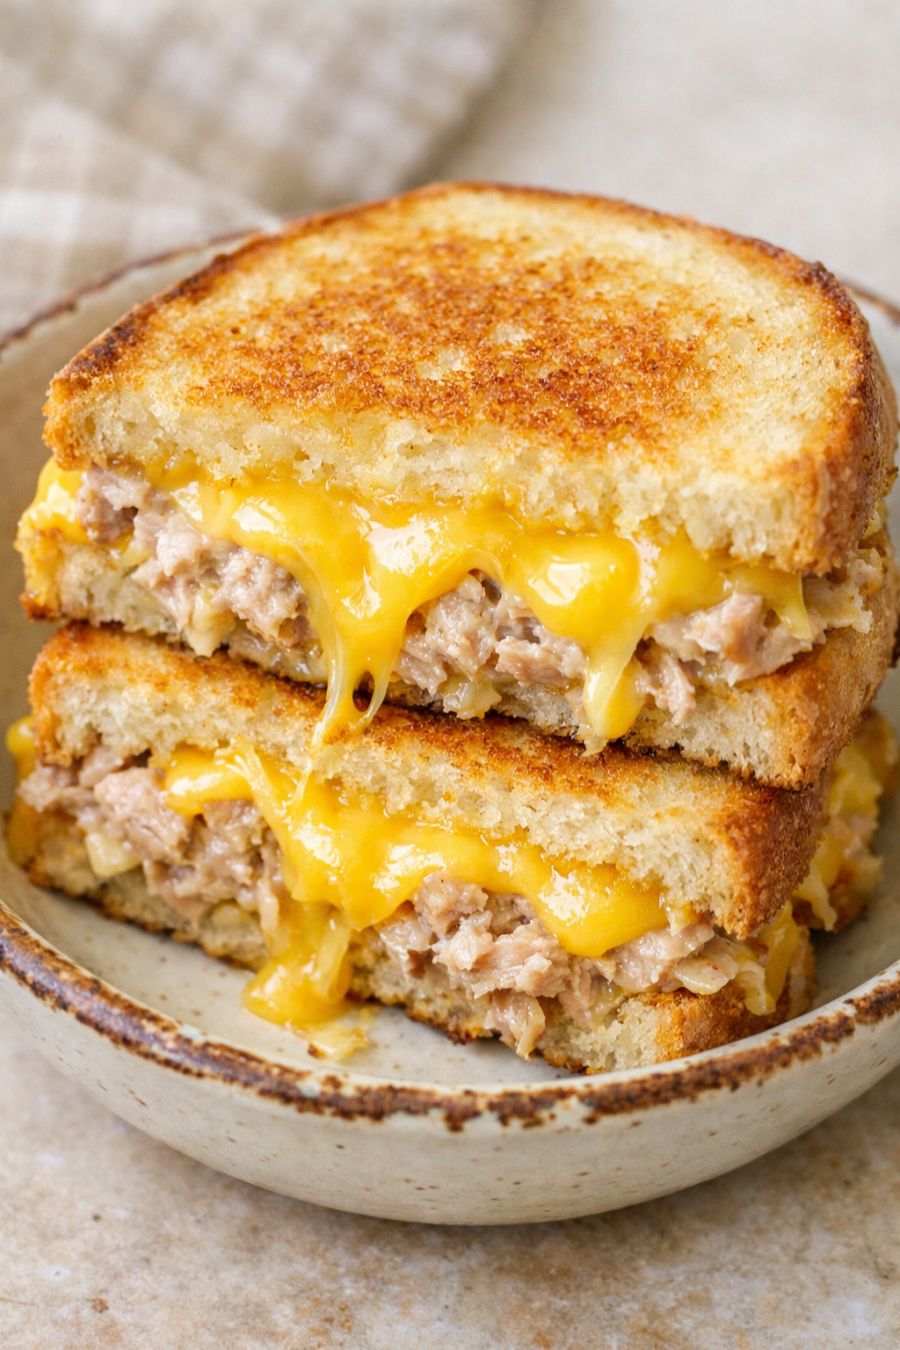
My mother kept this simple tuna melt in her back pocket for every gray, drizzly day on the farm. She liked to say that you don’t need a long ingredient list to feel taken care of, just a warm sandwich with a gooey middle and a good crunchy bite. This is the same 4-ingredient tuna melt she’d slide into one of her old ceramic bowls, the cheese bubbling and the bread golden and buttery, to chase off the gloom at lunch. It’s pure Midwestern comfort: practical, inexpensive, and so satisfying you’ll wonder how something this humble can make the world feel right again.
Serve this tuna melt hot, right out of the pan, with a handful of potato chips or crisp carrot sticks on the side for extra crunch. A simple dill pickle spear or a few bread-and-butter pickles fit the old-fashioned Midwestern table perfectly. If you like, add a small green salad dressed with bottled ranch or a wedge of iceberg with a drizzle of whatever you have on hand. A mug of tomato soup or chicken noodle soup makes it feel like a complete, cozy meal on a gloomy day.
4-Ingredient Tuna Melt
Servings: 2
Ingredients
1 (5-ounce) can tuna, drained well
1/4 cup mayonnaise
4 slices sandwich bread
4 slices yellow cheese (American or mild cheddar)
Directions
In a small bowl, break up the drained tuna with a fork, then stir in the mayonnaise until the fish is evenly coated and creamy. Taste and adjust the mayo if you like it looser or richer.
Lay the 4 slices of bread on the counter. Divide the tuna mixture evenly over 2 slices, spreading it almost to the edges so every bite is creamy.
Top the tuna on each sandwich with 2 slices of yellow cheese, overlapping them slightly so they cover the tuna and will melt into a gooey blanket.
Place the remaining 2 slices of bread on top of the cheese to form 2 sandwiches, pressing gently so they hold together.
Warm a large skillet over medium heat. Once hot, add the sandwiches dry (no butter needed for this version) and cook until the bottom side is golden and crisp, 3 to 4 minutes. Press lightly with a spatula to help the centers heat through and the cheese start to melt.
Carefully flip each sandwich and cook the second side until it is deeply golden, the bread is crunchy, and the cheese is fully melted and oozing at the edges, another 3 to 4 minutes. If the bread browns too fast, lower the heat so the centers stay gooey without burning the outside.
Transfer the sandwiches to a plate or a vintage-style bowl if you have one, just like my mother did. Let them sit for a minute to settle, then cut in half and serve while the bread is still crunchy and the cheesy tuna center is warm and comforting.
Variations & Tips
If you miss the buttery flavor on the outside, you can lightly butter the outsides of the bread before grilling, though it will technically add a fifth ingredient. My mother sometimes stretched the tuna by using an extra slice of bread and making the sandwiches a bit thinner, especially when feeding a crowd of hungry kids. For a slightly sharper taste, swap the American cheese for medium cheddar, or use one slice of each for a mix of gooey and tangy. To keep things budget-friendly, store-brand tuna and cheese work just fine, and day-old bread actually toasts up beautifully. If you prefer a softer bite, cook the sandwiches over lower heat so the bread stays pale and tender while the cheese melts. Leftovers are rare, but if you have one, reheat it in a dry skillet over low heat to bring back the crunch on the outside and the warm, melty center.
