This slow cooker 3-ingredient white chocolate peanut butter fudge is the kind of dessert that makes people swear you spent all afternoon fussing over it. My sister-in-law brought a pan of this to our Memorial Day cookout, and not a single person guessed it came from a slow cooker with just three pantry staples. The low, gentle heat melts everything into a velvety base, and a final swirl of peanut butter gives you those pretty golden ribbons running through creamy white chocolate. It’s ideal for busy hosts: you can set it up, walk away, and come back to a glossy, sliceable fudge that looks like it came from a boutique candy shop rather than your countertop appliance.
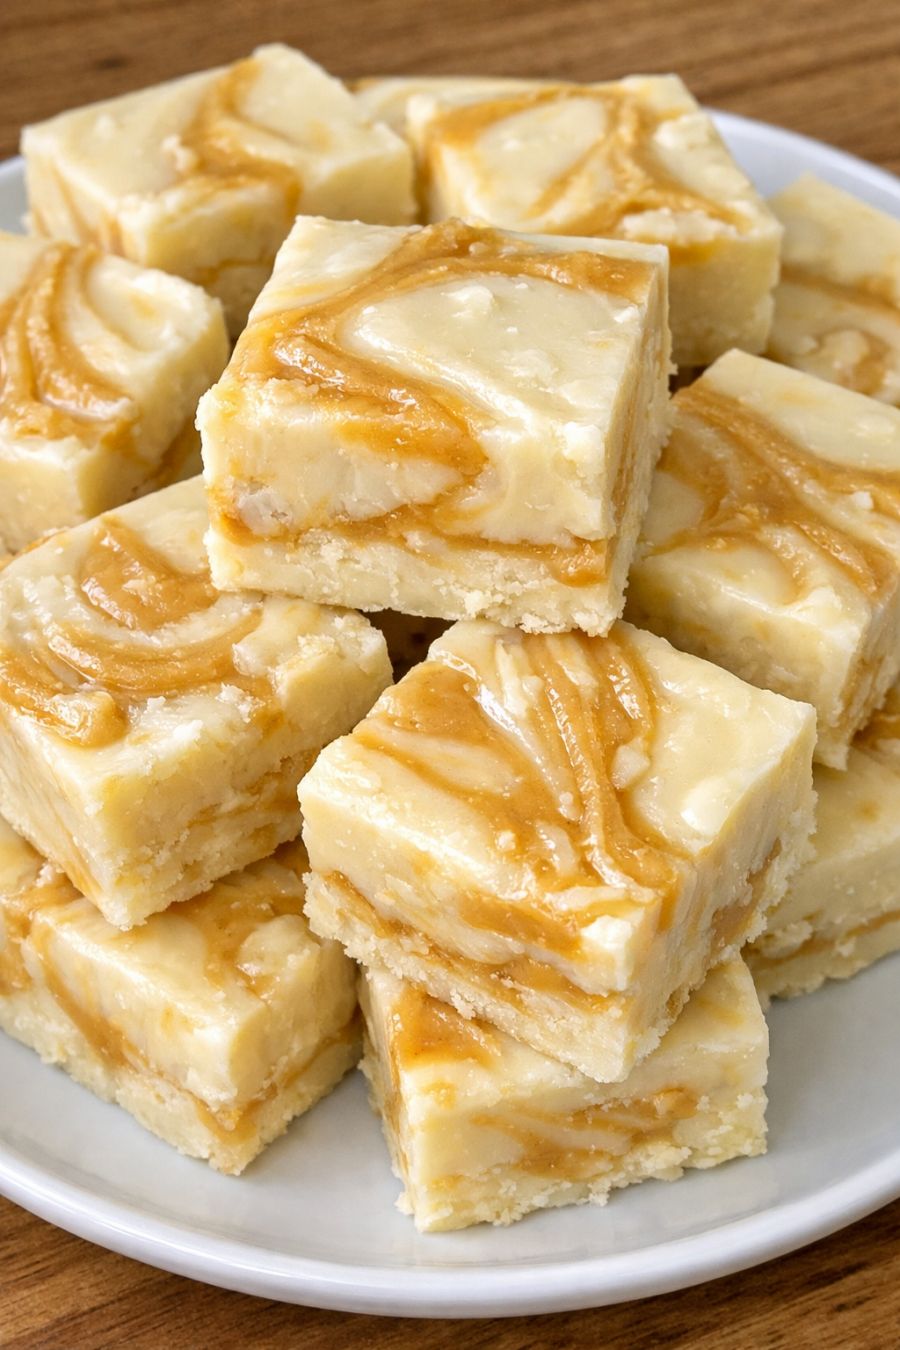
Serve the fudge chilled or at cool room temperature so the squares hold their shape and the texture stays pleasantly dense and creamy. I like to arrange the pieces on a simple white platter to show off the peanut butter swirls, then tuck fresh berries or sliced strawberries along the edges for a bit of color and acidity. Coffee, black tea, or iced cold brew pair nicely with the sweetness, and a small glass of milk is perfect if you’re serving kids. For a cookout or potluck, set the tray out toward the end of the meal alongside salty snacks like roasted nuts or pretzels—those contrasting bites keep the fudge from feeling too rich and encourage people to go back for “just one more” square.
Slow Cooker 3-Ingredient White Chocolate Peanut Butter FudgeServings: 24
Ingredients
24 oz (about 4 cups) good-quality white chocolate chips or chopped white chocolate
1 can (14 oz) sweetened condensed milk
1 cup creamy peanut butter, divided (3/4 cup for the base, 1/4 cup for swirling)
Directions
Prepare the pan: Line an 8x8-inch square baking pan with parchment paper, leaving some overhang on two sides to create handles. Lightly mist the parchment with nonstick spray or rub with a thin film of neutral oil to make slicing easier later.
Set up the slow cooker: Place a heat-safe mixing bowl that fits comfortably inside your slow cooker, or use a slow cooker-safe insert if yours is smooth and nonstick. You want a gentle, even heat, so plan to cook on LOW only.
Add the main ingredients: To the bowl or insert, add the white chocolate chips and the entire can of sweetened condensed milk. Spoon in 3/4 cup of the creamy peanut butter, reserving the remaining 1/4 cup in a small microwave-safe bowl for swirling later.
Melt in the slow cooker: Cover the slow cooker with its lid and set to LOW. Cook for 45 minutes, then uncover and stir slowly but thoroughly with a heatproof spatula, scraping the bottom and sides. The mixture will look partly melted at this stage.
Continue cooking until smooth: Replace the lid and continue to cook on LOW for another 15–30 minutes, stirring every 10–15 minutes, until the mixture is completely smooth, thick, and glossy. Avoid overcooking—once the chocolate is melted and no lumps remain, it’s ready. The total time is usually about 1 to 1 1/4 hours, depending on your slow cooker.
Warm the remaining peanut butter: While the fudge base finishes, gently warm the reserved 1/4 cup peanut butter in the microwave for 15–20 seconds, just until it loosens to a pourable but still thick consistency. Do not overheat; you don’t want it hot, just fluid enough to drizzle.
Transfer the fudge base: Turn off the slow cooker and carefully remove the bowl or insert using oven mitts. Immediately pour or scrape the hot fudge mixture into the prepared 8x8-inch pan, spreading it into an even layer with your spatula. Work fairly quickly; it will begin to set as it cools.
Create the peanut butter swirls: Drizzle the warmed peanut butter in thin lines or puddles over the surface of the fudge. Use the tip of a butter knife or a skewer to gently drag through the peanut butter and fudge in small, looping motions, creating swirls and ribbons. Avoid overworking the top—fewer, deliberate passes give you defined marbling rather than blending everything together.
Set the fudge: Let the pan cool at room temperature for about 30–45 minutes, then transfer it to the refrigerator. Chill for at least 3 hours, or until the fudge is very firm all the way through. For the cleanest cuts, you can chill it overnight.
Slice and serve: Once fully set, lift the fudge out of the pan using the parchment overhang and place it on a cutting board. Use a long, sharp knife to cut into 1- to 1 1/2-inch squares, wiping the blade clean between cuts for neat edges. Arrange the pieces on a platter, showcasing the peanut butter ribbons on top. Store any leftovers in an airtight container in the refrigerator for up to 1 week, separating layers with parchment to prevent sticking.
Variations & Tips
You can adapt this simple fudge a few ways without losing the three-ingredient spirit. For a sweet-salty twist, sprinkle a light pinch of flaky sea salt over the top right after you finish swirling the peanut butter; it will cling to the still-soft surface and balance the richness. If you prefer a stronger peanut flavor, increase the base peanut butter to a full 1 cup and skip the swirl, then simply smooth the top for a solid peanut butter-white chocolate fudge. For a crunchier version, use a natural-style crunchy peanut butter for the 3/4 cup in the base and keep the swirling peanut butter creamy so the top still looks smooth and glossy. To keep the texture right, avoid adding liquid flavorings like vanilla extract directly to the mixture in large amounts, as extra moisture can cause the fudge to seize or set up grainy. If you want a bit of vanilla, 1 teaspoon stirred in at the very end of melting is usually safe. For food safety, always melt the ingredients on LOW heat; high heat can scorch the chocolate and create hot spots. Use a clean, dry spatula for stirring—any stray water can cause the chocolate to seize. Once chilled, store the fudge in the refrigerator rather than at warm room temperature, especially in the summer or at crowded gatherings, to minimize the risk of spoilage and keep the texture firm. When transporting to a cookout or potluck, pack the cut pieces in a single layer (or with parchment between layers) in an insulated bag with a cold pack so they arrive looking as polished as when they left your kitchen.